


 Gift Cards
 Film Index
 FAQ
FAQLiberate Your Treasured Memories
Free your hidden memories from their dark and decaying box in your closet by converting your negatives and slides to digital files.
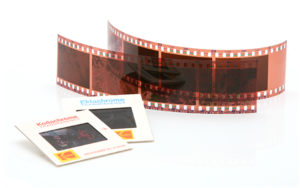 From holidays, family photos and vacations, your treasured memories remain hidden, stored away as slides or negatives. With computers, social media (#ThrowbackThursday or #TBT) and smartphones, memories are now easily accessible and sharable. We share four different ways to digitize converting, both slides and negatives to digital images, releasing those “analog” memories for future generations.
Send to a Professional
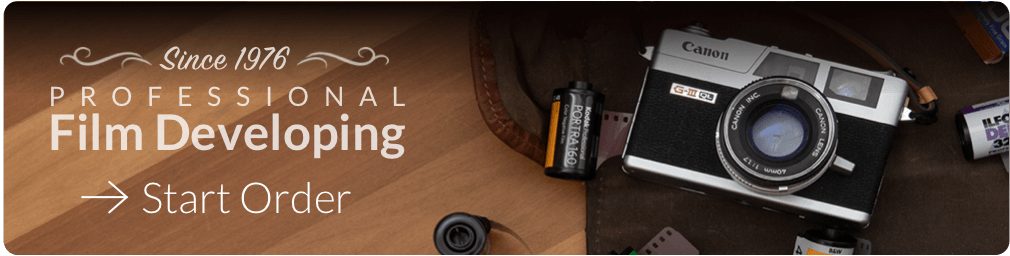
1. Have a Photo Lab Scan Your Slides and Negatives.
For as low as $1 each, our photo lab (TheDarkroom.com) can professionally convert your slides to digital image and scan your film negatives, upload them for web download and send you a CD or thumb drive with your scanned images. If you have a lot of slides, professionally digitizing your slides is much quicker and generally better than you will be able to do on your own. Here are some key points to consider:
- Price – For about $1 scan, you can select the images you want or just send images in bulk. If you have time, you can consider scanning them yourself. There’s a $10 minimum order.
- Quality – Our slide-scanning services can deliver very high-quality scans of your slides that will look good even when printed in large formats. For old slides or negatives, The Darkroom slide scan technology reduces dust spots. A 35mm Kodachrome slide, if taken in focus and not damaged, should provide approximately a 20-megapixel image with a higher resolution scan.
More info on The Darkroom’s Scan resolution - Prints – The Darkroom can also print your photos in a variety of sizes (4×6, 5×7, 8×10 and 11×14) and even apply your images to photo gifts, such as mugs, ornaments and aluminum art.
![]()
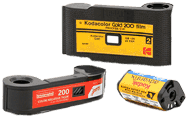
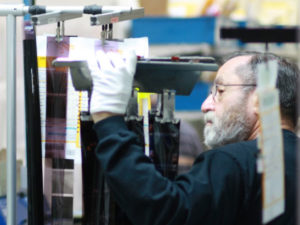
Have an old roll of film to develop? We can help
The Darkroom Scans your Slides and Negatives
Old & expired film
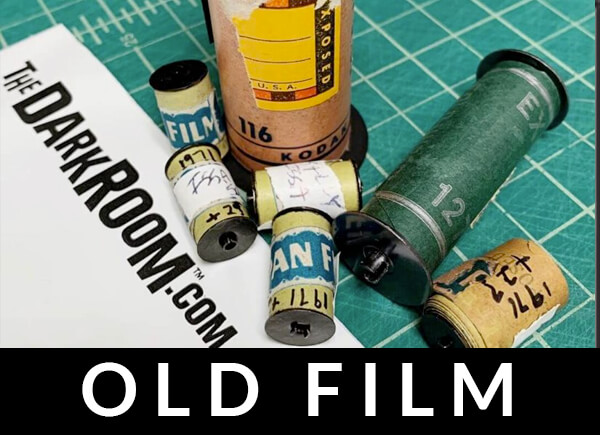
With over 45 years of developing film, The Darkroom will professionally develop your old film and color, contrast and density adjust every frame
DIY – Do it Yourself Slide Scanning
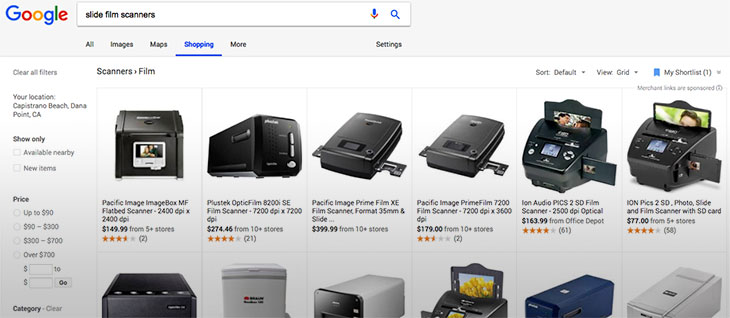
2. Buy a Slide Scanner
While the quality is generally better with a professional scanning service and the task of scanning your own slides and negatives can be tedious and time-consuming, there is a certain satisfaction and flexibility of doing it yourself… providing you have the time. Also, as part of the scanning process, you can screen your selects by discarding accidental photo misfires, redundant or poor subject matter images.
With a quick Google search, there are many scanners with a wide range of quality, features, and prices. Some features to consider when buying a slide scanner.
- Quality – Because you’re taking to the time to scan the slides and negatives, the resolution is important. Check out the megapixel number of the scanner you’re interested in. They can range from 5 to 9 megapixels. Bigger is better, as they say: the greater the number of pixels, the larger print you can make from your slide.
- Speed – Inexpensive slide scanners require you to scan to your computer, one at a time. Consider this if you don’t want to give up a weekend. If it takes 30-60 seconds to scan per slide, naming and filing time, it can take a considerable amount of time to process a box of slides. Top-quality 35mm slide and negative scanners have high-speed mode scanning even at the highest resolution around 7200 dpi. The high-resolution scans produce larger files and so you need fast transfer rate to scanner’s internal memory or SD/SDHC card.
- Compatibility – Most scanners will work with new computers, whether Mac or PC and some scanners don’t even require a computer. If you have an older computer, check the specifications and compatibility when considering a scanner.
- Comparison Shopping – With the internet now, it’s pretty much compulsory to do a little research prior to buying online. We would like to a comparison, but a link or a comparison of scanners will become quickly obsolete in this forum.
TIP: Check for photography rental companies in your area. Often they have professional-grade scanners available for rent and may even offer “free weekends” if you rent on Friday and return “24 hours later” on Monday.
3. Use a Flatbed Scanner
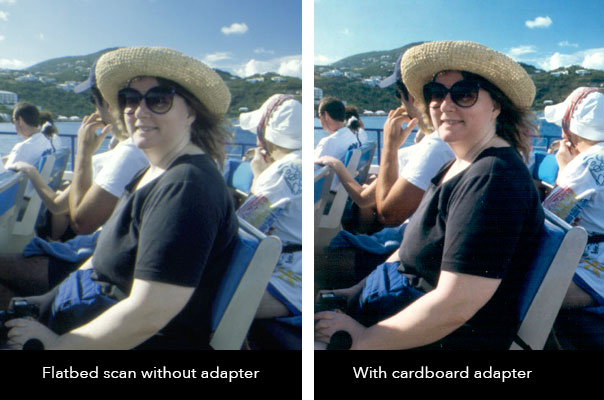 A cheaper alternative is using a flatbed scanner for a decent (not great) way to digitize your slides or negatives. Because slides should be illuminated from behind, flatbed scanners capture reflected light from a document, so there will be inherent limitations in quality, lighting and resolution, likely requiring Photoshop or photo software to tweak cropping, brightness, and contrast. To improve scan quality, you can create a cardboard adapter to reflect light from the scanner and back through the slide or negative (see below).
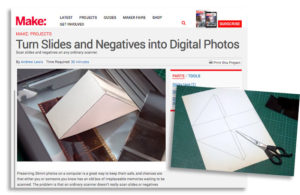
Make has instructions on making a simple cardboard adapter to capture the light from the scanner and reflect it behind the slide. How-To: Make cardboard adapter for scanning slides
For negatives, most image processing programs will have an ‘invert’ function that will reverse it from negative to positive.
4. Projecting Your Images
At this point we’ve gone from best, better, good and now we’re at the “will work” or “just okay” method. This technique is only for slides and is projecting your image and shooting it with your digital camera/smartphone. Set up your projector, screen, and tripod and manually focusing your digital camera to photograph the image as displayed on the screen.
- Use your smartphone. Use a photo editing program to adjust your image. While there are many available apps, Google’s SnapSeed app for iPhone does a great job.
- If using a better camera, try bracketing your image exposure with slower and faster shutter times and a fixed f-stop, and then compositing the picture with image software such as Photoshop. The resolution will still be compromised, but you may have better dynamic range.
Other Options
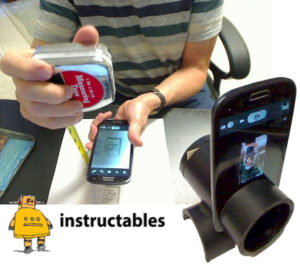 35mm Slide Converter for Cellphone
Instructables has instructions on using a smartphone to convert 35mm slides into digital images using a PVC pipe and some tools. While we haven’t tested it, looks like it should work and capture decent images. Get instructions at Instructables.
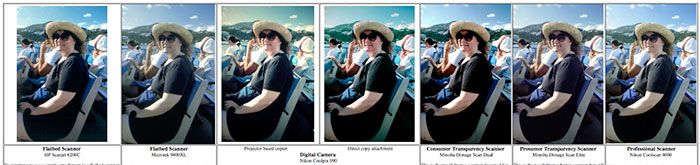
Dave Dyer created a post on comparing the different methods of scanning slides. The article is old, but we feel the results are still valid and illustrates the differences in quality.
What is Slide Film?
Remember skimming National Geographic when waiting at the dentist as a kid? Most of those (now probably terrible) images were shot with slide film. Ektachrome, a slide film from Kodak, became exceptionally popular with National Geographic professional photographers, on account of the rich colors and great grain. The charm of Ektachrome inspired images in magazines such as that often inspired many into photography.
A routine color film, or print film, produces a color unfavorable film that when displayed through an enlarger enables you to print the positive color image, However, when prints or scans are done from unfavorable film, there is an enormous variance in how the last images end up. Each printing shop offers a slightly various outcome based upon the chemicals they use to convert the negatives into a positive image.
Slide film, or color reversal film, produces favorable colors on slides to they can be packed directly into a projector and displayed as is. What you see in the film is what you get. It’s a professional-grade film with lively colors, contrast, sharpness, and really fine grain.
As such, you’ll need to be knowledgeable about your electronic camera to utilize it. Black and white film has 5 stops of vibrant range (latitude). This suggests you can forget to set direct exposure and still end up with an image. The color unfavorable film has a 3 stop variety. However slide film just has 1.5 stops of vibrant variety, so you require to make conscious choices about what to meter for in the image.
Benefits of slide film
- The color and contrast that originates from slide film are 2nd to none. Even modern-day digital cams, namely Fuji electronic cameras, consist of built-in film simulations to duplicate the appearance produced by these films. Great shot, however absolutely nothing is better than the genuine thing.
- Having the ability to see the outcomes is a big benefit. You can get the film and see exactly how the images ended up. You can then scan them straight, take images of them or utilize them in a projector.
- Slide film lasts forever. It’s the ’80s Toyota Land Cruiser of the film We have actually all discovered boxes of images in your home that are faded, creased and filled with secret stains. Well, slide film will sit rather gladly in a box for years without any loss of color, contrast or quality.
- You can cross procedure, which suggests developing the slide film utilizing the C-41 approach. This can produce some funky colors. Anybody who’s spent a minimum of 5 minutes on Instagram will understand everything about filters. Well, those faded, blue-toned. “rinsed” images were originally created by cross-processing slide film.
Disadvantages of shooting slide film.
- Slide film just has around 1.5 stops of latitude. This means that a small over (or under) exposure could make you lose all of the details in the highlights (or shadows).
- It is costly! Nowadays it is getting harder and more difficult to get your hands on slide film, and when you do, you may require to dip into your kids’ college fund.
- When you have it, you require to discover somebody that can develop it. You need to search for a lab that can do E-6 advancement. Do not fret. There is also a great deal of mail-in services that are available, simply look online.
- It’s not your daily film as in some cases the saturated colors are just too wild. For example, Fuji Velvia is great for landscape shooting, but if used inside for pictures, you’ll end up with some unusual color casts. Grandmother’s 60th birthday images may have her looking like Snooki from Jersey Shore.
- Let’s face it, shooting a movie isn’t for everyone and slide film is a bit of a black sheep. However if you, like me, like discovering all things photography, shooting slide film is a must.
Low light is hard. Unless you are confident about your ability to measure the light, you’re not going to having fun. The majority of slide film is ASA 200 or lower. This provides great grain, outstanding color, and contrast, however sluggish shutter speeds.
If you are shooting people, then err on somewhat underexposing the background and including a little bit of light to the subject. To do that, you can use a flash, a reflector or perhaps a cellular phone light.
In the start, attempt to bracket your images. Take one image a half a stop underexposed then shoot again, half a stop overexposed. This will ensure that you’ll get something usable in the end.
Brilliant bright days naturally have a large dynamic variety. The difference between the brightest brights and the shadows can be over 10 stops. You need to decide if you want to lose the shadows or the sky. The earlier you believe like this, the more keepers you’ll get.